
EVERYTHING YOU NEED TO KNOW ABOUT CUSTOM PRESS ON NAILS IN 2024
HOT GIRLS DO THEIR NAILS AT HOME
★
HOT GIRLS DO THEIR NAILS AT HOME ★
PRESS ON NAILS CHANGED MY LIFE. LET’S TALK ABOUT IT. 💅
This blog post features affiliate links where I make a small commission if you make a purchase. Enjoy the read!
If you watched my recent breakdown of my 2024 vision board, you know that THIS is my year for budgeting and saving for the future. That being said, the cost for a gel manicure has skyrocketed (barf) and I simply refuse to pay $100 every two weeks. Not to mention- your girl LIVES for nail art and sitting in the chair for 2 hours makes me want to pull my hair out.
Last year I became interested in the idea of press on nails after seeing another creator talk about their experience. I constantly use my hands to film videos and believe it or not, a lot of brands require a chip free manicure as a part of your content requirements. That being said, I felt like press on nails made for the perfect solution to all of my problems:
Quick application
Easy fix if they pop off
No down time while they dry
THEY ARE REUSABLE (!!!)
Nail art without the wait
100% Customized to my preferences
If you’re not already convinced, girl math might make you think otherwise. Unlike a one-time gel or polish mani, custom press ons are 100% REUSABLE. After removing the nails, you can use this drill to buff off any excess glue. I have reworn sets up to 5+ times. That means if you spend $60 on a solid custom press on nail set and wear them 5 times, they only cost $12 a wear. #girlmath
After a year of wearing press ons I have become quite the expert. Keep reading for my top tips and products for enhancing your at-home press on nail experience in 2024.
➡️ SIZING KITS
Admittedly, there is a bit of a learning curve when it comes to CUSTOM press on nails (compared to store bought press ons). All press on nail artists offer different shapes and sizes so it is important to first inquire about their sizing kits.
A sizing kit is a set of nails (usually 10 or more) of varying sizes. You determine the shape that you would like to try (for example medium length coffin shaped nails) and start by placing an order for a sizing kit.
Once you know your sizes in a particular shape, you are good to move forward with ordering a set from your chosen press on nail artist.
I recommend keeping track of your shapes/sizes in the notes app of your phone. Although, most artists will keep them on file for future purchases.

Source: Styles of Mango Presents
➡️ WHERE TO BUY CUSTOM PRESS ON NAILS
I am loyal to a couple of artists I found through Instagram, but trust me, there is a nail artist out there for everyone. If you’re particular about a certain shape (think coffin, almond, extra short nails) it might be best to find an artist who specializes in your favorite look.
For me, I prefer a shorter nail and wanted an artist who offers everything from crazy advanced design work to simple, solid nails. The majority of my collection is from the wonderful @by.chloenails who also happens to be a nail artist mentor. Her orders for design level sets open every Monday but you can order solid nails (no designs) anytime via her website linked here. Use code REAGAN for 10% off!
If you are looking for longer nails at an affordable price point, I also have several sets from @lunapressonsbysami. Learn more about ordering from Sami here.
One of the best places to discover custom press on nail artists is Instagram. This Instagram page @thepressoncollective showcases several artists - browse this profile to find designs that speak to you then reach out to the artists directly.
➡️ HELPFUL PRODUCTS AND TOOLS
One of the best purchases I made throughout my press on nail journey was this Press On Starter Kit from Olive and June. I absolutely love the cuticle pusher inside this kit and the cuticle serum really is ✨that girl✨

Aside from the kit mentioned above, I highly recommend purchasing this drill. It helps make rewearing your nails a seamless experience and it’ll make you feel extra fancy.
Lastly, organization is key. I use this fish hook box (yes, it’s pink) to store any extra nails or supplies and this clear organizer to stick + display my entire collection. More on that to come below! Almost all nail artists will provide you with the supplies necessary to apply/complete your manicure, however, I have tested several different glues and really enjoy this one. I like this one in particular because it is a paint brush applicator opposed to a squeeze tube.
All of the supplies above are absolutely not required, but if you wanted to go all-in the total cost is under $100 (less than the average nail salon experience in 2024).
➡️ HOW TO REMOVE CUSTOM PRESS ON NAILS
To put it simple, all you need is a bowl, a little bit of olive oil, hand soap and a splash of water. I don’t use any exact measurements.
Let your fingertips soak for 15-20 minutes (the perfect amount of time to tune into an episode of my podcast, Swiftie School 😉) and then use a cuticle pusher or wooden stick (the nail kind, not a random stick from nature LOL) to gently pop off your nails.
But if you’re lazy like me, you’ll probably end up picking them off one by one while watching TV. 🤪
➡️ HOW TO ORGANIZE YOUR COLLECTION
If you prefer to keep your nails in the original packaging from the artist, go for it! This is a simple (and free) solution while you grow your collection.
For all of my Type-A friends out there, this clear press on nail organizer will be your friend. It’s under $10 and comes with everything you need to get organizing. A quick recommendation: if you plan on expanding your collection, keep that in mind as you start to lay down the tape in your organizer. I kept my tape fairly tight/close together so I could maximize the amount of press ons that fit within the organizer.
➡️ STORE BOUGHT ALTERNATIVES I LOVE
Now, that was a lot. If you’re press on curious but don’t have the coin to drop on a custom set just yet, I’ve got you! To save money I like to alternate between custom and store bought sets. Plus, there are several great brands out there. Here are two of my favorites:
Chillhouse - This set is my all time favorite!
Olive and June - You can purchase these at most Targets.
➡️ STEP BY STEP VIDEO TUTORIALS
For all my visual learners out there, I got you! I created this video to show you a a step-by-step tutorial on how to apply your custom press ons.
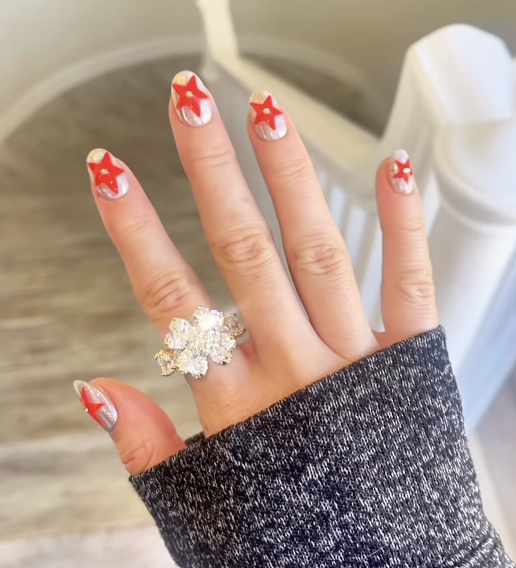
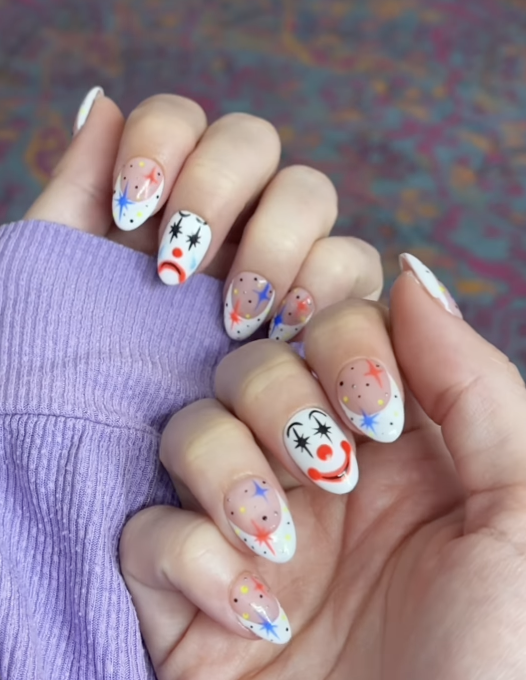
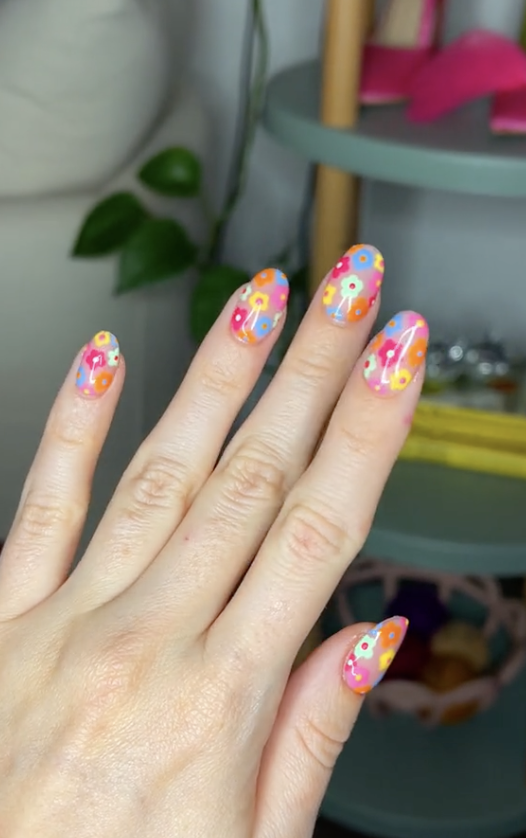
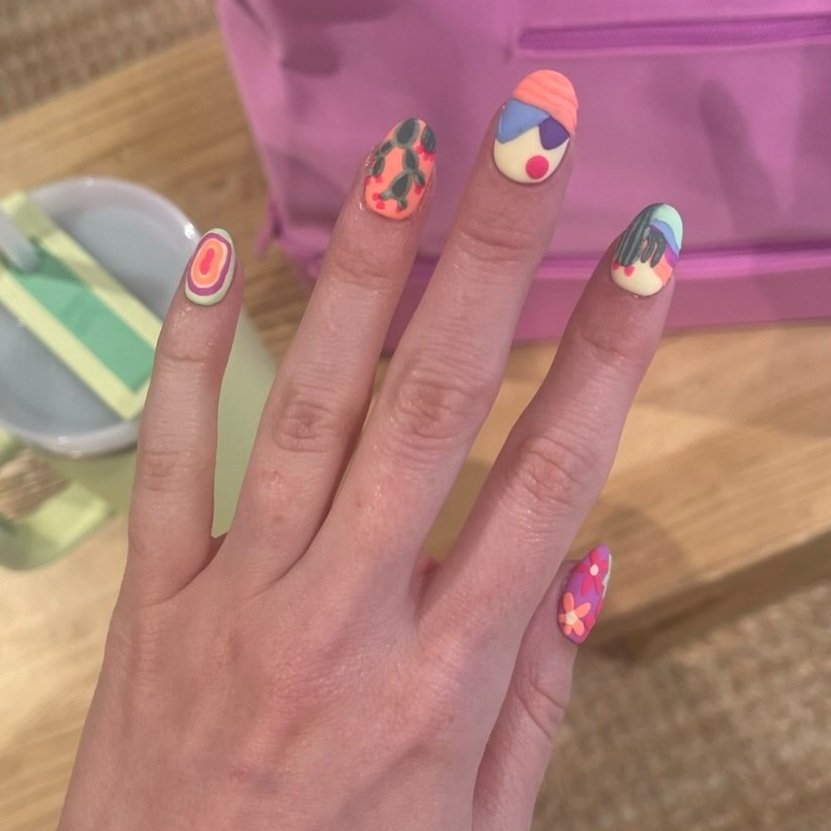
➡️ NAIL ART DESIGN INSPO
For endless inspo on nail art designs, check out my Pinterest here! Fair warning, I LIVE for a colorful, bold design (surprise, surprise).
Well, well, well! You made it to the end which basically means you’re a press on nail expert too. 😆
I hope you found this comprehensive guide to press on nails useful (I know your wallet sure will)! Make sure to tag me on IG @reagan.baylee so I can see your nails and remember, you’ll get better at the application process with time.
It’s another great day to be alive at the same time as Taylor Swift!
XO
Reagan Baylee